
Nginx部署项目
项目打包
- 通过npm 安装依赖
$ npm i
$ yarn
$ pnpm i- 项目打包编译
$ npm run build- 将生成的dist目录压缩

安装Nginx
- 使用宝塔安装Nginx

- 新增站点配置

- 将生成的打包生成的dist目录上传至网站根目录

Nginx配置:
server
{
    listen 80;
    server_name test.wcrane.cn;
    index index.php index.html index.htm default.php default.htm default.html;
    # 网站根目录
    root /www/wwwroot/test.wcrane.cn;

    #SSL-START SSL相关配置,请勿删除或修改下一行带注释的404规则
    #error_page 404/404.html;
    #SSL-END

    #ERROR-PAGE-START  错误页配置,可以注释、删除或修改
    #error_page 404 /404.html;
    #error_page 502 /502.html;
    #ERROR-PAGE-END

    #PHP-INFO-START  PHP引用配置,可以注释或修改
    include enable-php-74.conf;
    #PHP-INFO-END

    #REWRITE-START URL重写规则引用,修改后将导致面板设置的伪静态规则失效
    include /www/server/panel/vhost/rewrite/test.wcrane.cn.conf;
    #REWRITE-END

    #禁止访问的文件或目录
    location ~ ^/(\.user.ini|\.htaccess|\.git|\.env|\.svn|\.project|LICENSE|README.md)
    {
        return 404;
    }

    #一键申请SSL证书验证目录相关设置
    location ~ \.well-known{
        allow all;
    }

    #禁止在证书验证目录放入敏感文件
    if ( $uri ~ "^/\.well-known/.*\.(php|jsp|py|js|css|lua|ts|go|zip|tar\.gz|rar|7z|sql|bak)$" ) {
        return 403;
    }

    location ~ .*\.(gif|jpg|jpeg|png|bmp|swf)$
    {
        expires      30d;
        error_log /dev/null;
        access_log /dev/null;
    }

    location ~ .*\.(js|css)?$
    {
        expires      12h;
        error_log /dev/null;
        access_log /dev/null;
    }
    access_log  /www/wwwlogs/test.wcrane.cn.log;
    error_log  /www/wwwlogs/test.wcrane.cn.error.log;
}
Nginx配置
使用history模式 404问题
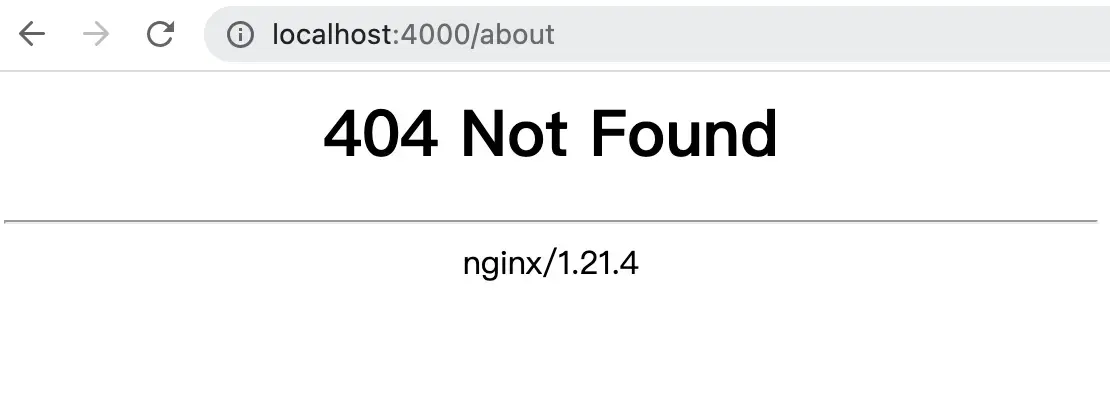
原因:在静态资源中并没有 about 或者 about.html 该资源,因此返回 404 Not Found。而在单页应用中,/about 是由前端通过 history API 进行控制。
解决方法也很简单:在服务端将所有页面路由均指向 index.html,而单页应用再通过 history API 控制当前路由显示哪个页面。 这也是静态资源服务器的重写(Rewrite)功能。
我们在使用 nginx 镜像部署前端应用时,可通过挂载 nginx 配置解决该问题。
解决办法:通过 try_files 重定向到首页
nginx 的 try_files 指令
在 nginx 中,可通过 try_files 指令将所有页面导向 index.html。
location / {
    # 如果资源不存在,则回退到 index.html,在通过vue-router的路由机制加载相应的页面
    try_files  $uri $uri/ /index.html;
}
此时,可解决服务器端路由问题。
解决跨域问题
当服务端接口和前端页面处于不同的端口或者域名时可以使用Nginx代理的方式解决跨域
通过代理的方式将含有 /api/ 的服务端接口代理到当前域名上,保证服务端接口与网站处于同一域下面,可以解决跨域问题。
location /api/ {
  # 调整到100s
  proxy_connect_timeout  100;  # nginx跟后端服务器连接超时时间(代理连接超时)默认60s

  proxy_read_timeout 100;  #后端服务器数据回传时间(代理发送超时)默认值60s

  proxy_send_timeout  100;   #连接成功后,后端服务器响应时间(代理接收超时)默认值60s
	proxy_pass http://127.0.0.1:9001/api/;
}
注意
在使用proxy 代理时还需要注意如下配置
# 调整到100s
proxy_connect_timeout    100;  #nginx跟后端服务器连接超时时间(代理连接超时)默认60s
proxy_read_timeout       100; #后端服务器数据回传时间(代理发送超时)默认值60s
proxy_send_timeout       100;  #连接成功后,后端服务器响应时间(代理接收超时)默认值60s
在上传文件或者长任务时可能会出现504问题【即网关超时(Gateway Time-out)错误】
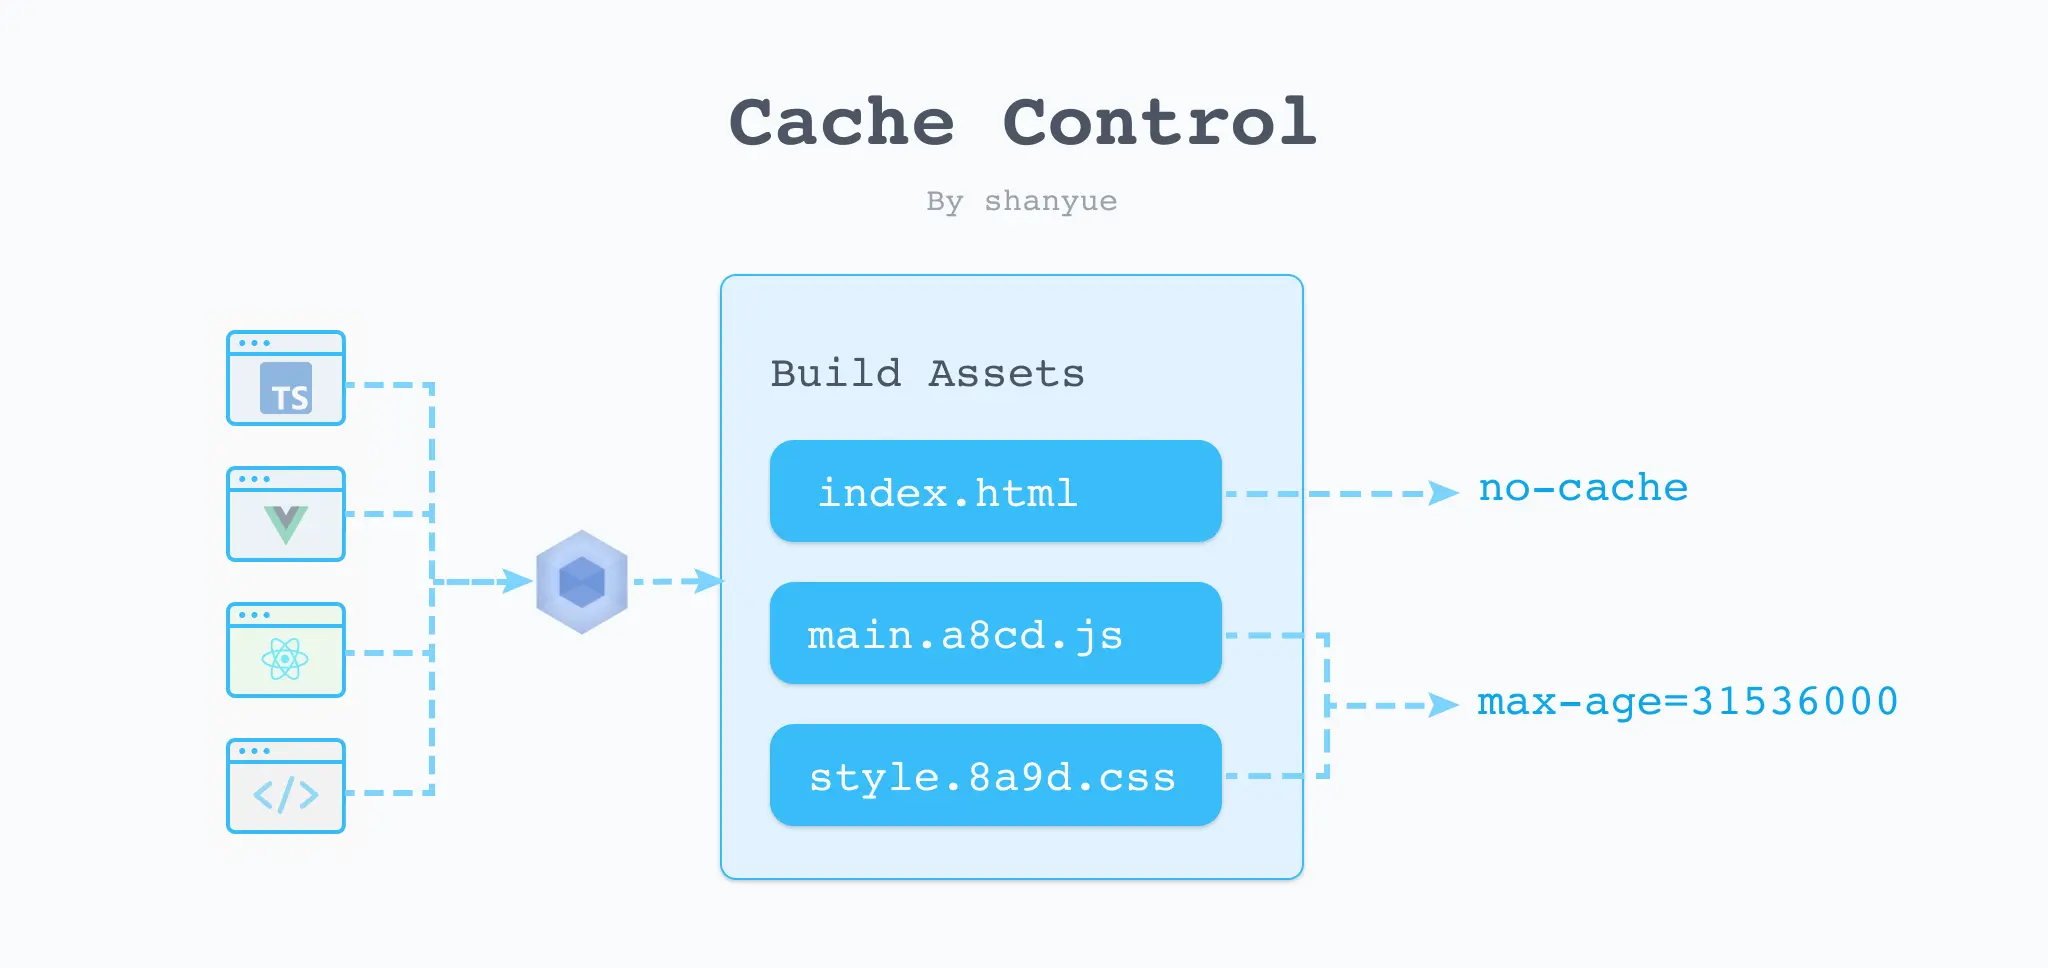
长期缓存 (Long Term Cache)
在 CRA 应用中,./build/static 目录均由 webpack 构建产生,资源路径将会带有 hash 值。
$ tree ./build/static
./build/static
├── css
│   ├── main.073c9b0a.css
│   └── main.073c9b0a.css.map
├── js
│   ├── 787.cf6a8955.chunk.js
│   ├── 787.cf6a8955.chunk.js.map
│   ├── main.a3facdf8.js
│   ├── main.a3facdf8.js.LICENSE.txt
│   └── main.a3facdf8.js.map
└── media
    └── logo.6ce24c58023cc2f8fd88fe9d219db6c6.svg

3 directories, 8 files
此时可通过 expires 对它们配置一年的长期缓存,它实际上是配置了 Cache-Control: max-age=31536000 的响应头。
那为什么带有 hash 的资源可设置长期缓存呢: **资源的内容发生变更,他将会生成全新的 hash 值,即全新的资源路径。**而旧有资源将不会进行访问。
location /static {
    expires 1y;
}
nginx 配置文件
总结缓存策略如下:
带有 hash 的资源一年长期缓存
非带 hash 的资源,需要配置 Cache-Control: no-cache,避免浏览器默认为强缓存
nginx.conf 文件需要维护在项目当中,经过路由问题的解决与缓存配置外,最终配置如下:
server {
    listen       80;
    server_name  localhost;

    root   /usr/share/nginx/html;
    index  index.html index.htm;

    location / {
        # 解决单页应用服务端路由的问题
        try_files  $uri $uri/ /index.html;

        # 非带 hash 的资源,需要配置 Cache-Control: no-cache,避免浏览器默认为强缓存
        expires -1;
    }
    # 资源缓存
    location /static {
        # 带 hash 的资源,需要配置长期缓存
        expires 1y;
    }
    # 使用proxy代理解决跨域问题
    location /api/ {
      # 调整到100s
      proxy_connect_timeout    100;  #
      nginx跟后端服务器连接超时时间(代理连接超时)默认60s

      proxy_read_timeout       100;
      #后端服务器数据回传时间(代理发送超时)默认值60s

      proxy_send_timeout       100;
      #连接成功后,后端服务器响应时间(代理接收超时)默认值60s
      proxy_pass http://127.0.0.1:9001/api/;
    }
}